Stock Locations
A "Stock Location" or "Location" is meant to track the physical location where you keep your parts and the quantity in each location. For example maybe you would like to keep a bunch of 1/4" screws on hand. Perhaps you have a quantity of 100 of these screws in your garage on a particular shelf and 50 of them in a drawer in your kitchen. The kitchen drawer and the garage shelf would be the 'Stock Locations' for this screw.
The location itself can be whatever location makes sense for your situation. It can be as simple as "kitchen drawer" if you know where that is. Or you can come up with a more complicated location scheme with codes combining locations of a building, shelving rack, and particular shelf that the part is stored at.
Add new Stock Location
Like Tags, a Stock Location must first be defined before it can be added to a part. Lets go ahead and create a simple "Kitchen Drawer" stock location.
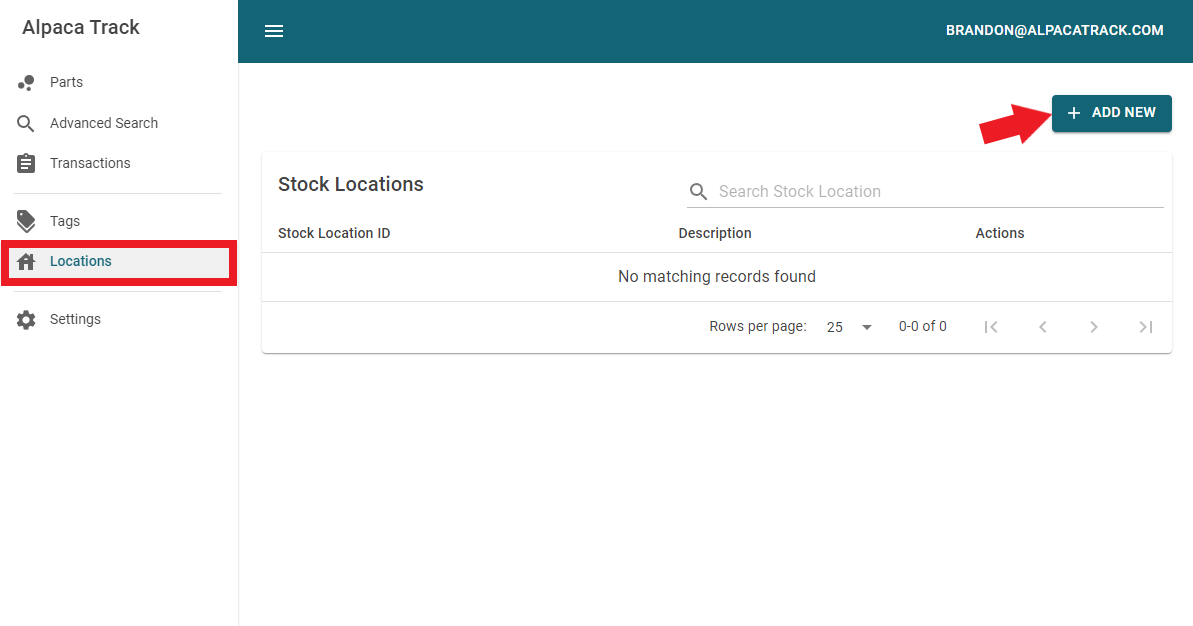
Click on the 'Locations' menu item on the left navigation menu. You start without any stock locations. Click the '+ ADD NEW' button to add one.
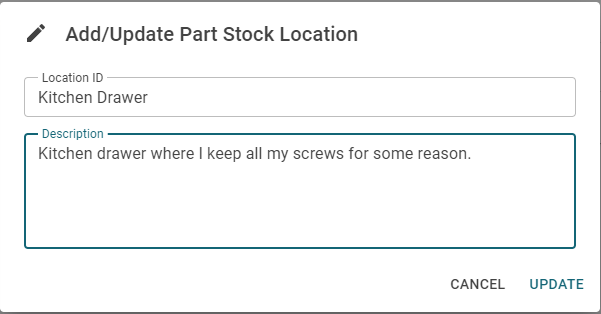
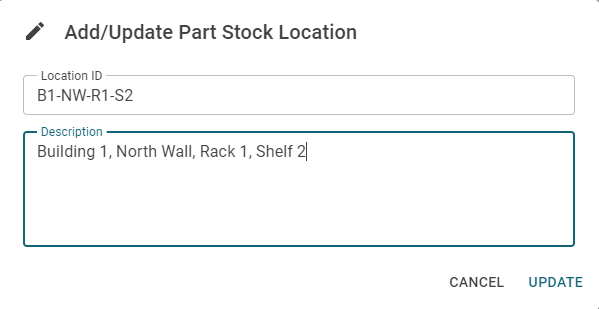
A popup dialog will appear. Enter "Kitchen Drawer" for the Location ID. You can also optionally enter a description to describe the location. When finished press the 'UPDATE' button.
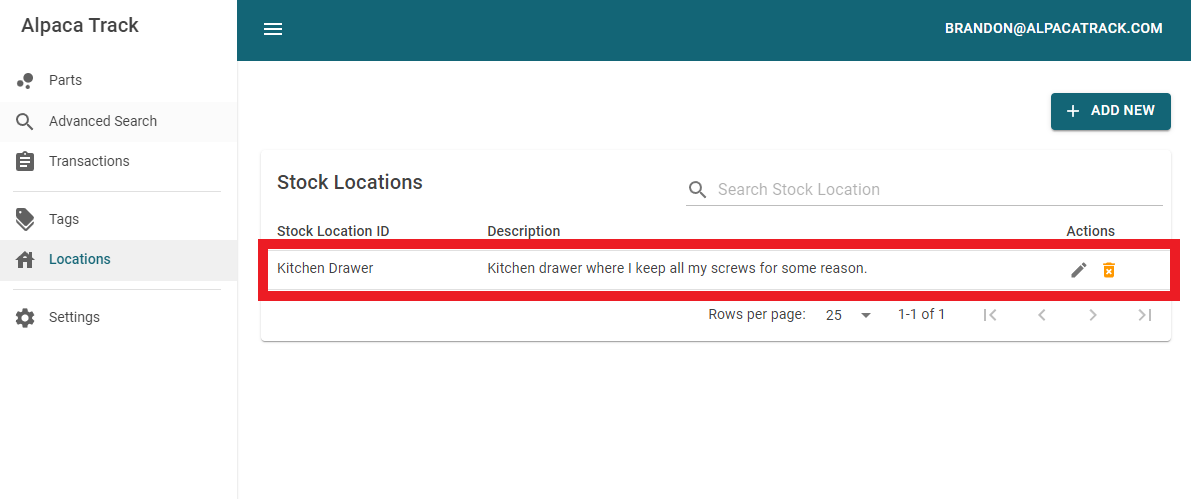
You should now see a Stock Location in the list.
Create a second stock location
Go ahead and create a second stock location. In this example we will create a slightly more complicated stock location that resembles something a manufacturing facility might use.
Add Stock Locations To A New Part
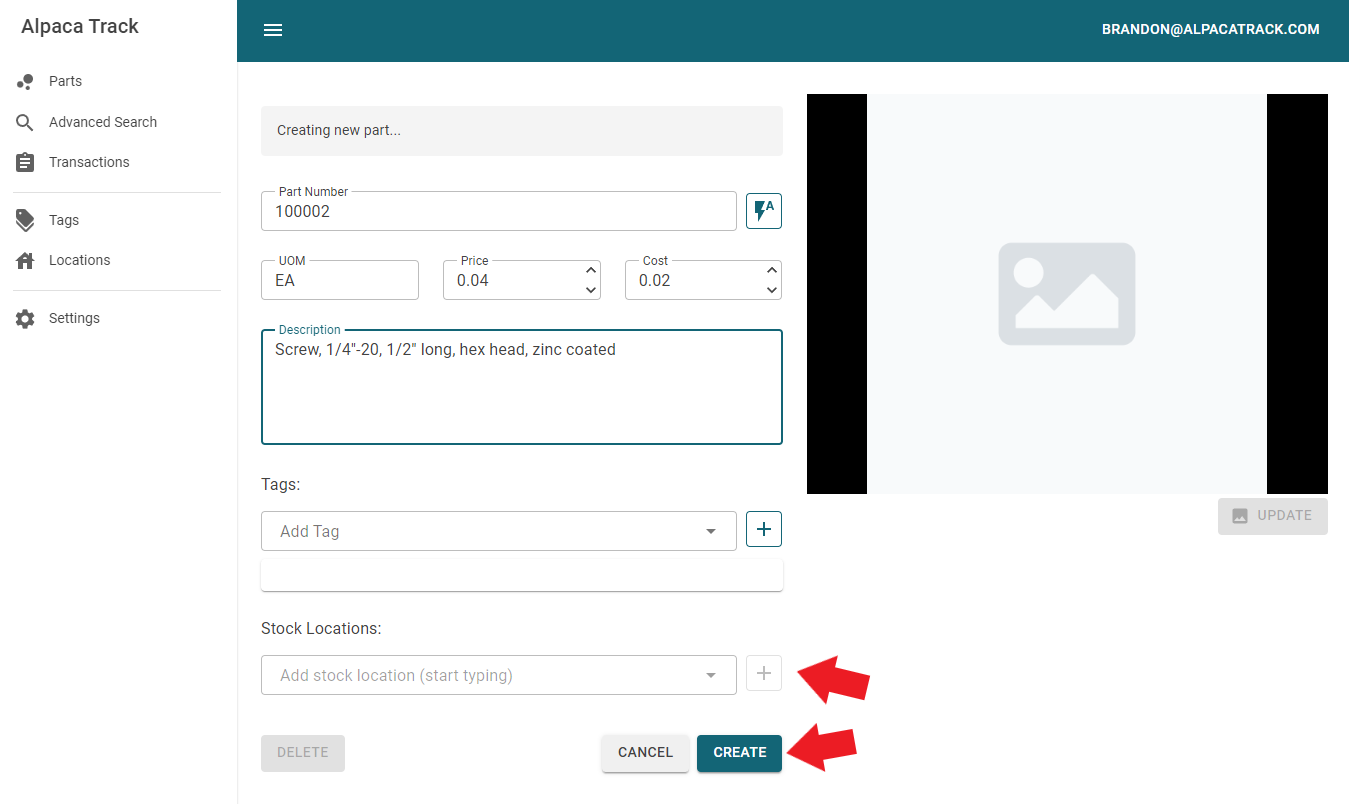
Lets go ahead and create a new part. If needed please see the Quickstart section under Getting Started for information on creating a new part. For this example we will create a part for a screw.
From the main 'Parts' screen, select 'Create New'. Fill in the Part Number and a Description. Notice the "Stock Locations" area of the new part is greyed out. We need to click the "CREATE" button before adding the stock locations.
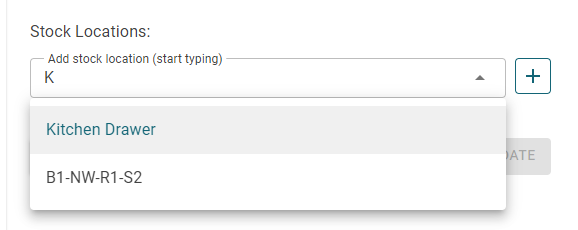
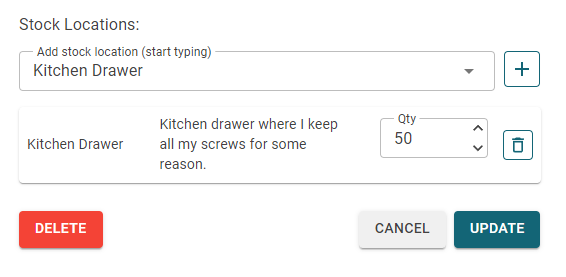
After clicking 'CREATE', start typing one of the stock locations into the stock location search field. In our example we will type "Ki" for the begining of "Kitchen Drawer" and then select the "Kitchen Drawer" location.
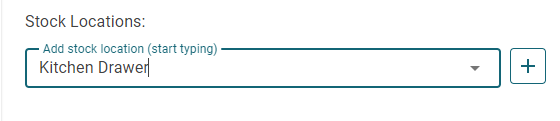
After selecting the correct Stock Location, click the '+' button next to the search field to add it to the part.
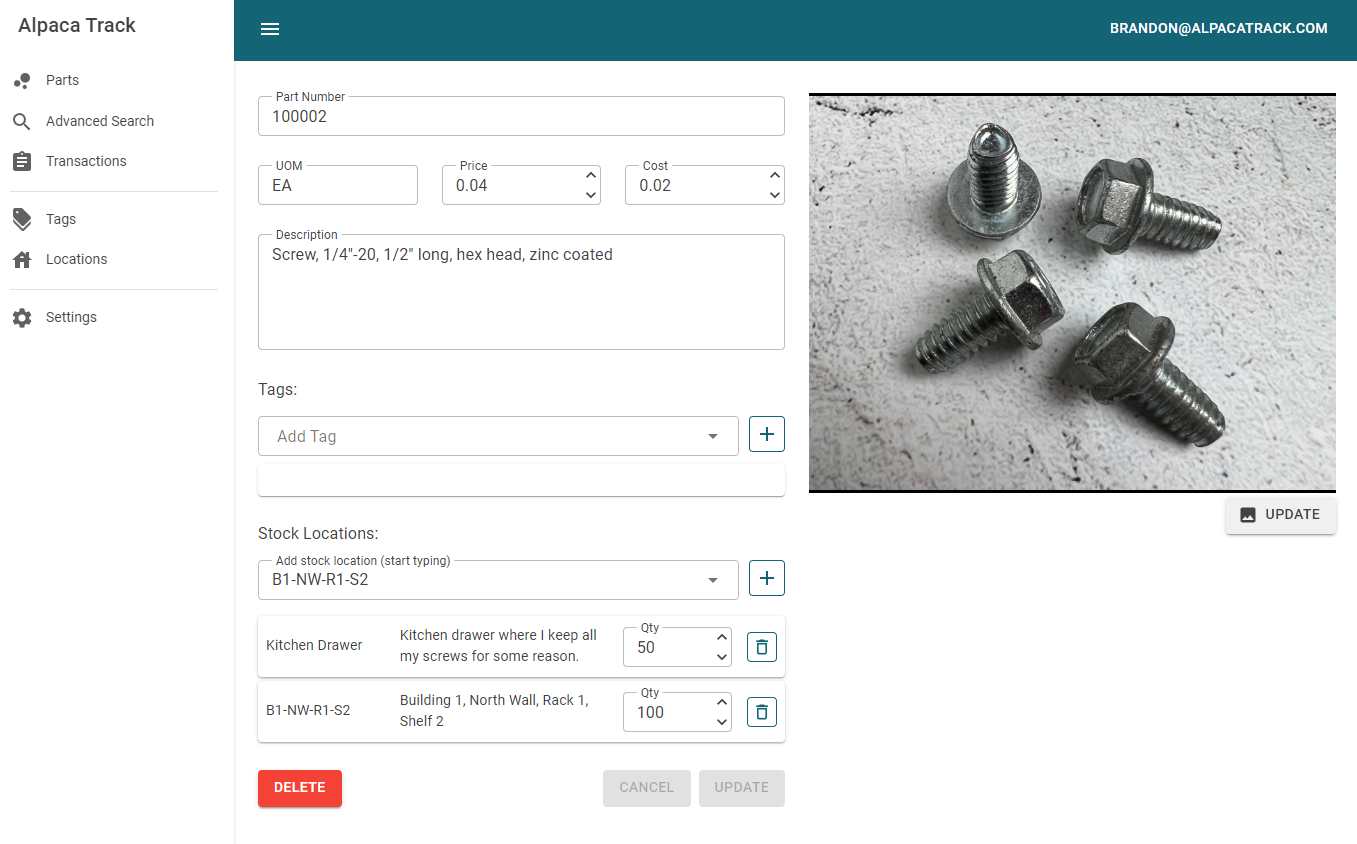
We can now change the quantity at this location. Let's enter a quantity of 50 in the "Kitchen Drawer" location. Remember to press 'UPDATE' to save the changes to the part.
A part can be kept in multiple locations. So let's go ahead and add quantity 100 of this part in the second stock location that we created.
To finish out this part example we will add a nice picture of some screws. Here is a what our Part Details view should look like with the two new stock locations added.